Planning this party was fun and easy, yet it required a lot of manual art work, research, and creativity. Seriously, I can say that it was almost as much fun to plan and organize the party as it was to enjoy all the guests and see my daughter's beautiful smile on her special day.
Take a journey behind the scenes… Below are the some of the decoration items that I made for the party. Feel free to share, copy, and use whatever you would like! Some ideas were inspired in other blogs, websites, and also in Pinterest photos; while others were suggested by friends. By the way, I would like to say a big THANK YOU to my friends who supported my ideas; contributed with great insight and awesome creativity; assisted with the planning and preparation of the party; and helped with hands-on before and on the big day! Thank you, friends! And thank you to all the friends and family who showed up to celebrate the beautiful occasion with us! It's been a couple of weeks now and Sophia still talks about her "Elmo happy birthday" party - asking for more. :)

With my precious 2-year-old munchkin


Big Bird, Elmo, Cookie Monster and Dorothy - prints used to decorate the tables.
I found them on Google Images.


Little Elmo faces glued onto popsicle sticks. Used as sandwich toppers
(scroll down to see pictures).
Can also be used as cupcake toppers, if wanted.
Printable Elmo faces were found in this blog.


Hand-made favor boxes. The red plain boxes were ordered online at Oriental Trading.
The eyes and noses were bought at Michaels. I made the mouth myself.


Chocolates… The printable labels were found in this blog.
They fit perfectly to cover mini Hershey's.


Elmo juice box and cookies! Found them at Target.
The sign was found at Google Images.


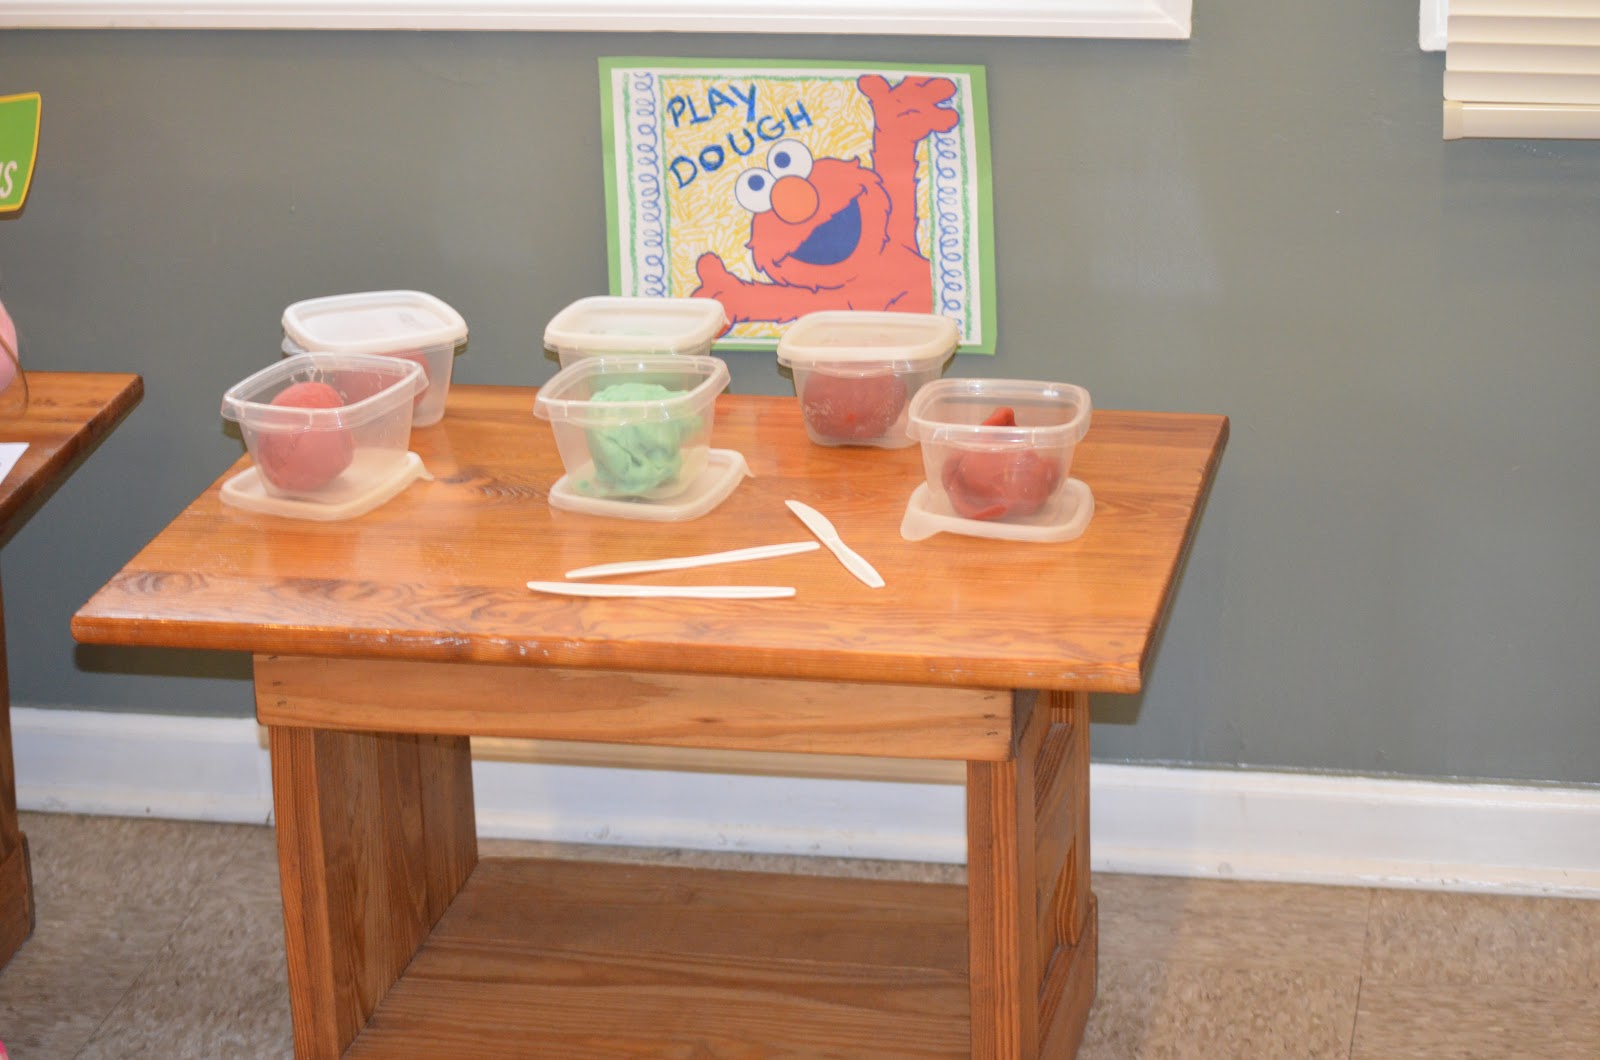
Homemade play dough and little baby food jars.
(I collected the food jars at Sophia's daycare center.)
(I collected the food jars at Sophia's daycare center.)
The recipe for the play dough can be found on my previous posting in this same blog.


The edible eyes, the mini-cookies and the blue icing were bought at Target.
The goldfish is a real pet. We got her just before the party. Kids loved it!


I printed four little signs and used them to name appetizers at the table.
I used the same image and printed them bigger to use as signs for the play stations and the entrance.
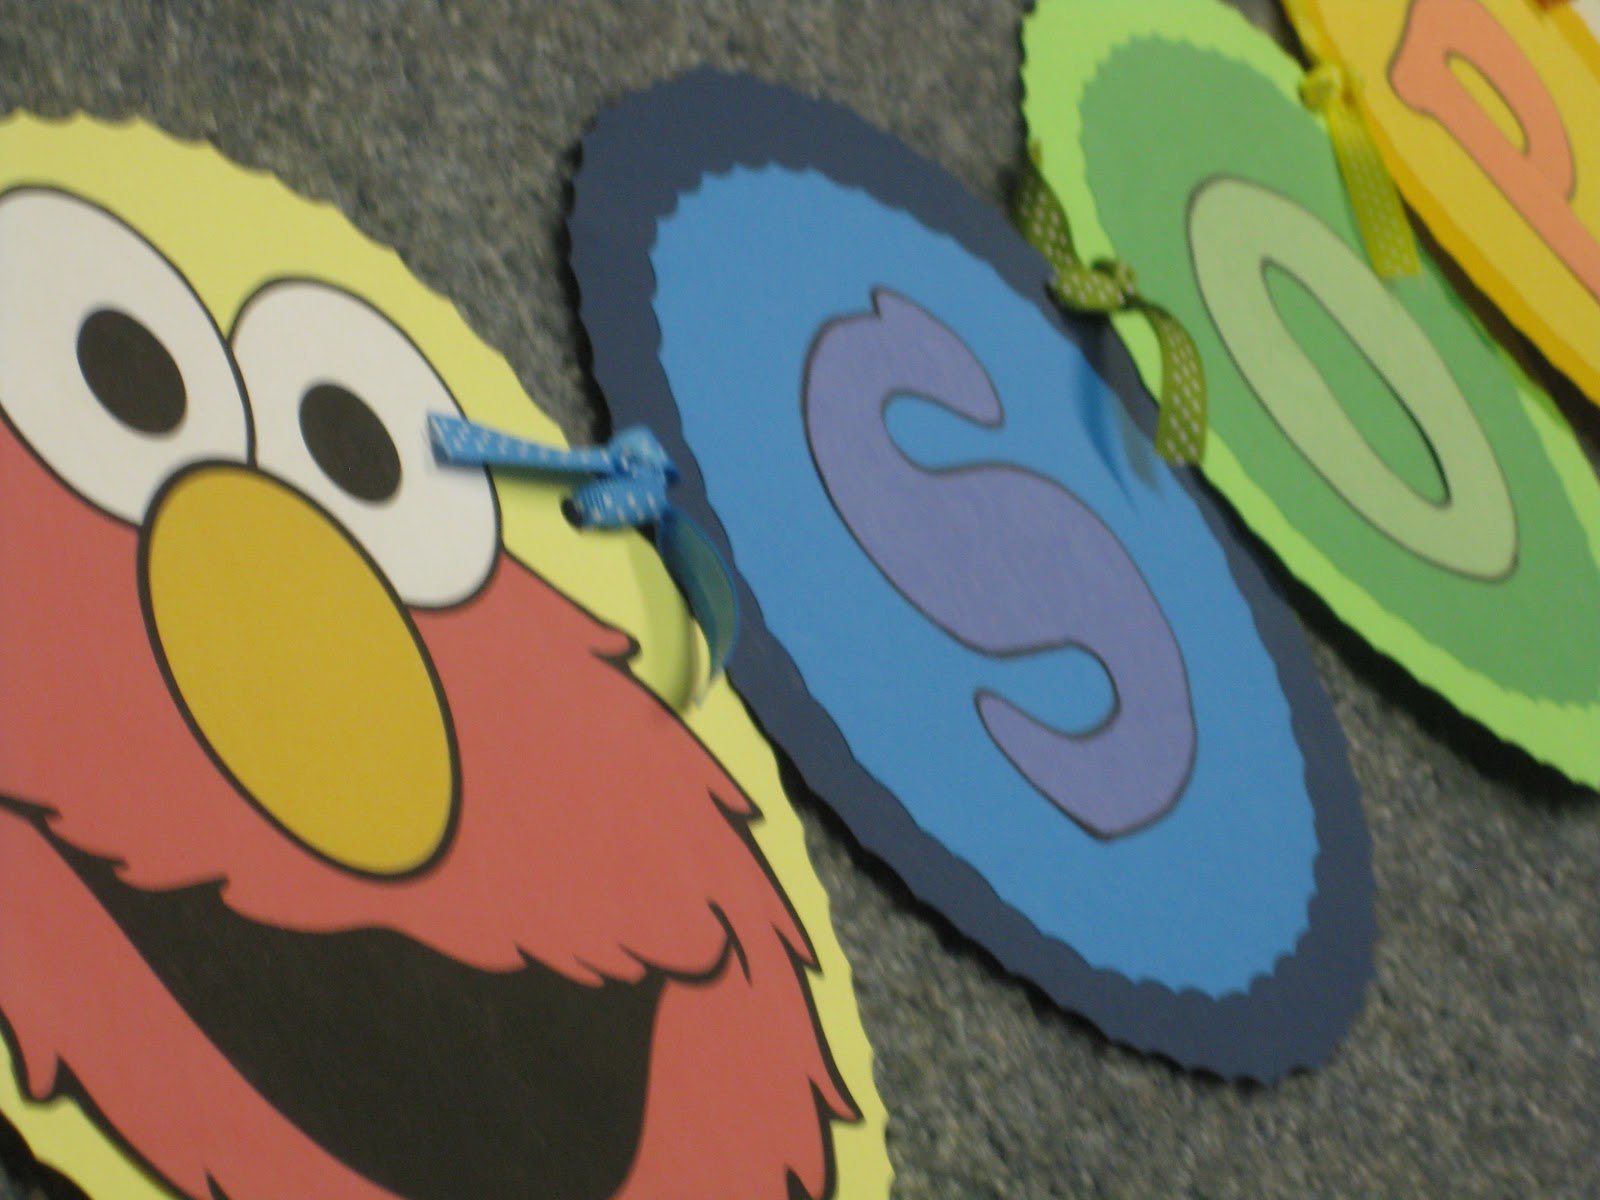

Hand-made name banner. As simple as that!

Sign at the entrance door.


Simple, yet beautiful.


The cake? Yes, I ordered it. I could never make such beautiful and delicious piece of art!


The pompons were also handmade. They are made from tissue paper!
I looked up for the tutorial on Utube.
I looked up for the tutorial on Utube.


The cupcakes were a huge success at the party! And making them was so much fun!


Our special guest: Dorothy - the goldfish


Little paper cups for guests to serve themselves with goldfish, popcorn, vegetables, and fruits. I found them at the dollar store. I individually wrapped colorful ribbons around each one of them.


Homemade chicken salad sandwiches and… goldfish snacks!


Vegetable Elmo's face, popcorn, mini jello, and fruits. I wanted to keep it simple and healthy. The mini jello was also homemade.
Play Stations (I thought of four simple things that Sophia greatly enjoys doing):


Mini Hershey's chocolate wrapped with Elmo birthday labels and favor boxes (with Elmo juice box, cereal bar, mini raisin box, play dough, and Elmo stickers inside each one of them).
Thank You!

